
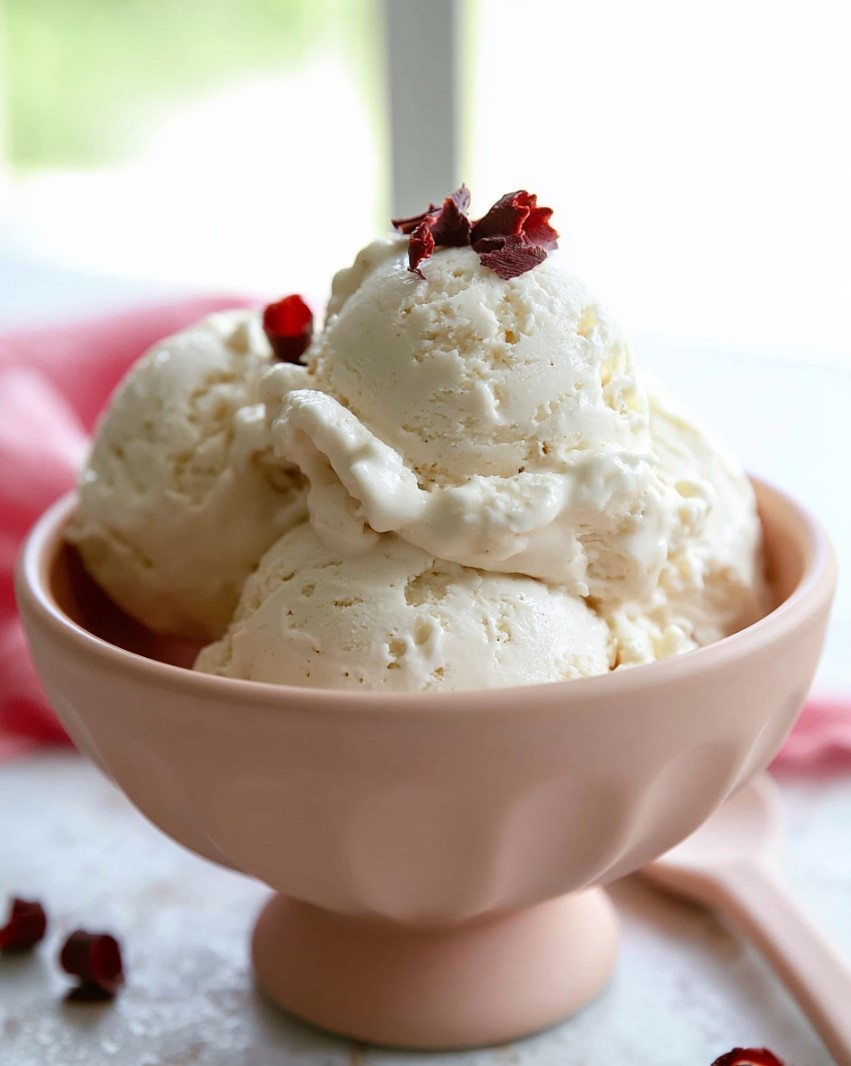
Velvety Keto Vanilla Ice Cream You Can Actually Scoop

This keto vanilla ice cream relies on a stovetop condensed cream base for an undeniably rich, velvety mouthfeel that melts cleanly. It skips the rock-solid icy texture entirely and stays scoopable straight from the freezer.
The Secret to the Condensed Base
To get that dense, classic texture without real sugar, you have to lower the water content. That means simmering heavy cream and butter in a wide skillet until it reduces by half.
Around the twenty-minute mark, the reducing cream starts smelling intensely sweet and toasted, almost like caramel cooking down. By the time it thickly coats the back of a spoon, you have a concentrated base.
From Skillet to Ice Cream Maker
Whisk your cold almond milk, heavy cream, and vanilla extract together first. Stash that bowl in the fridge so the mixture is waiting and very cold.
Once your stovetop cream reduction finishes, let it sit until it hits room temperature. Then whisk your chilled dairy right into it.
Cover it tightly and refrigerate for at least four hours. Overnight is better.
When it is cold to the touch, pour it into your machine. Churn for 20 to 25 minutes until it looks like thick soft serve.
The Temperature Trap
Watch for this: if the base isn’t below 40°F before churning, your machine will struggle to freeze it quickly. The first time I tried this, I rushed the chill time.
The fat separated during churning, leaving a greasy film on the roof of my mouth. Do not shortcut the fridge time.
If you are making a homemade low carb ice cream without a machine, vigorous stirring in the freezer is your main defense against ice crystals.
What to Serve It With
A good sugar free vanilla ice cream needs a companion. If you want a warm contrast, a scoop melts beautifully over this keto triple berry cobbler.
For serious chocolate cravings, serve it on top of a skillet brownie while the pan is still hot.
Or skip baking entirely and just fold pieces of keto cookie dough right into the machine during the last two minutes of churning.
Print
Creamy Vanilla Keto Ice Cream (No-Churn Option)
- Prep Time: 10 minutes
- Chilling Time: 6 hours
- Cook Time: 40 minutes
- Total Time: 6 hours 50 minutes
- Yield: 3 cups 1x
- Category: Dessert
- Method: Stovetop / Churning
- Cuisine: American
Description
This rich, velvety low-carb dessert skips the icy texture common in many sugar-free ice creams by creating a homemade, sugar-free condensed milk base. It delivers a deeply satisfying, classic vanilla flavor with a perfectly scoopable consistency.
Ingredients
Cold Dairy Mixture
- 1 cup unsweetened almond milk (or unsweetened coconut milk beverage)
- 1 cup heavy cream
- 2 tsp vanilla extract
Condensed Cream Base
- 2 cups heavy cream
- 1/3 cup powdered monk fruit allulose blend
- 3 tbsp unsalted butter
- 1/8 tsp fine sea salt
Instructions
- Prepare the cold mixture: In a medium bowl, whisk together the almond milk, 1 cup of heavy cream, and vanilla extract until evenly combined. Cover and place in the refrigerator to keep cold.
- Melt the butter: In a large, wide skillet (avoid deep saucepans to maximize evaporation surface), melt the unsalted butter over medium heat for about 1 to 2 minutes, until it is fully liquid and gently bubbling.
- Reduce the cream base: Pour the remaining 2 cups of heavy cream into the skillet, followed by the powdered sweetener and fine sea salt. Bring to a gentle boil, then immediately reduce to medium-low heat. Simmer for 30 to 45 minutes, stirring occasionally. You will know it is ready when it smells rich and sweet, the volume has reduced by half, and it thickly coats the back of a spoon—swiping your finger across the spoon should leave a clear, holdable line.
- Combine and chill: Transfer the hot, condensed cream to a large, heat-proof bowl and let it sit until cooled to room temperature. Once cool, whisk in your refrigerated cold dairy mixture until completely smooth. Cover the bowl tightly and refrigerate for at least 4 hours (or overnight) until completely cold to the touch.
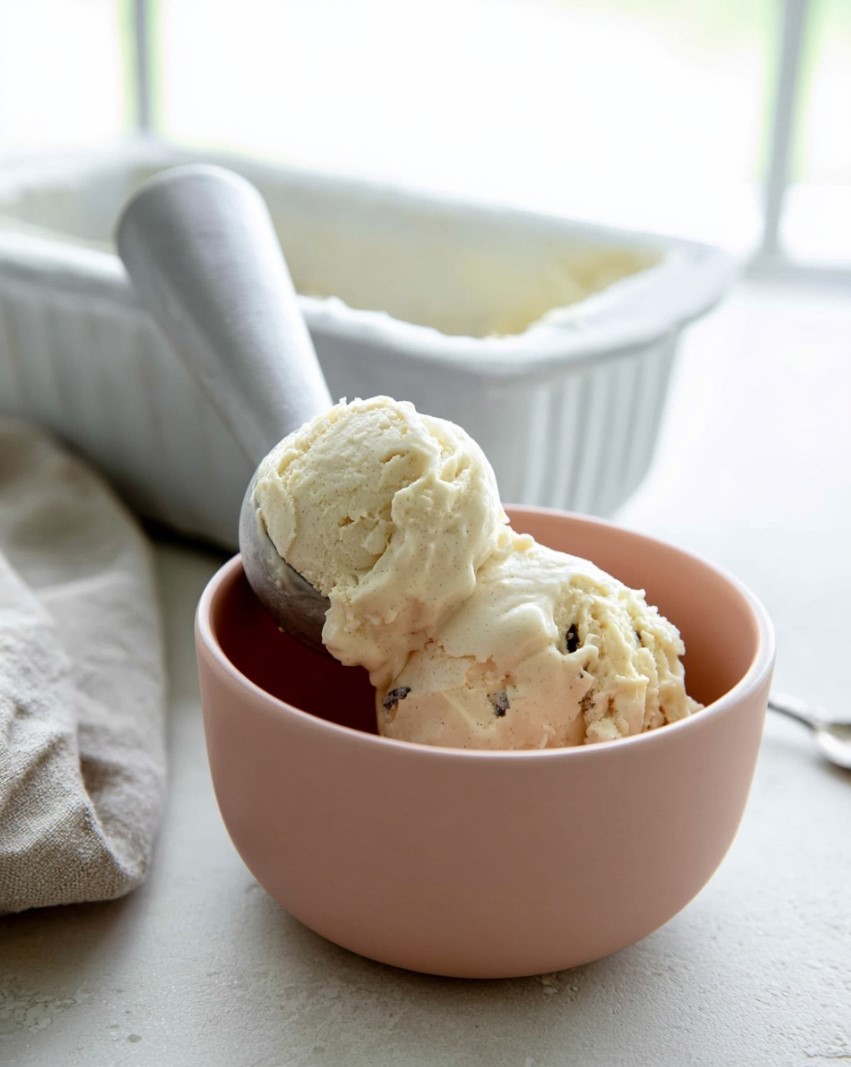
- Churn the ice cream: Pour the thoroughly chilled mixture into your ice cream maker. Churn according to the manufacturer’s instructions for about 20 to 25 minutes. It is finished churning when it reaches the thick, creamy consistency of soft serve.
- Freeze to set: Enjoy immediately as soft serve, or transfer the mixture to a 9×5-inch freezer-safe loaf pan. Smooth the surface with a spatula and press a piece of parchment paper directly onto the ice cream to prevent ice crystals from forming. Freeze for 2 to 4 hours, until firm enough to scoop.
Notes
Why It Works
- Reducing the cream and butter on the stovetop creates a concentrated base that mimics traditional sweetened condensed milk, lowering the water content to yield a supremely creamy, velvety mouthfeel.
- Using an allulose-based sweetener is key here, as it resists freezing rock-solid, keeping your low-carb ice cream much softer and more scoopable than if you used pure erythritol.
Common Pitfalls to Avoid
- Using a narrow pot: If you simmer the cream in a standard saucepan instead of a wide skillet, the reduction process will take significantly longer due to the smaller surface area.
- Skipping the chill time: The base must be colder than 40°F before churning. If it is too warm, the ice cream maker will struggle to freeze it quickly, resulting in an unpleasantly greasy texture.
Variations
- No-Churn Alternative: If you do not have an ice cream maker, pour the chilled base into a loaf pan and freeze. Vigorously stir the mixture every 30 minutes for the first 2 hours, then every 60 to 90 minutes for the following 2 to 3 hours to break up ice crystals as it sets.
- Chocolate Chip: Slowly sprinkle in ½ cup of sugar-free dark chocolate chips during the final 2 minutes of churning.
Allergy Alert
This recipe contains dairy and tree nuts. Substitute as needed.
Nutrition (per serving — estimates)
Calories: 461 | Total Carbs: 3.6g (Fiber: 0.2g, Sugar: 3.4g) | Net Carbs: 3.4g | Fat: 49.0g (Saturated: 30g) | Protein: 2.8g | Sodium: 110mg
Nutritional values are approximate, based on standard reference data (USDA FoodData Central). Actual values vary by brand and exact measurements. For precision, use a tracker like MyFitnessPal or Cronometer.
Nutrition
- Serving Size: 1/2 cup
- Calories: 461
- Sugar: 3.4g
- Sodium: 110mg
- Fat: 49.0g
- Saturated Fat: 30g
- Carbohydrates: 3.6g
- Fiber: 0.2g
- Protein: 2.8g
I am an empathetic data-tracker, not a medical professional. The nutritional numbers above are rough estimates drawn from standard reference data. For exact precision, run the specific brands you use through a tracker like MyFitnessPal or Cronometer.


