
DASH Maple Glazed Cashews with a Smoky Kick

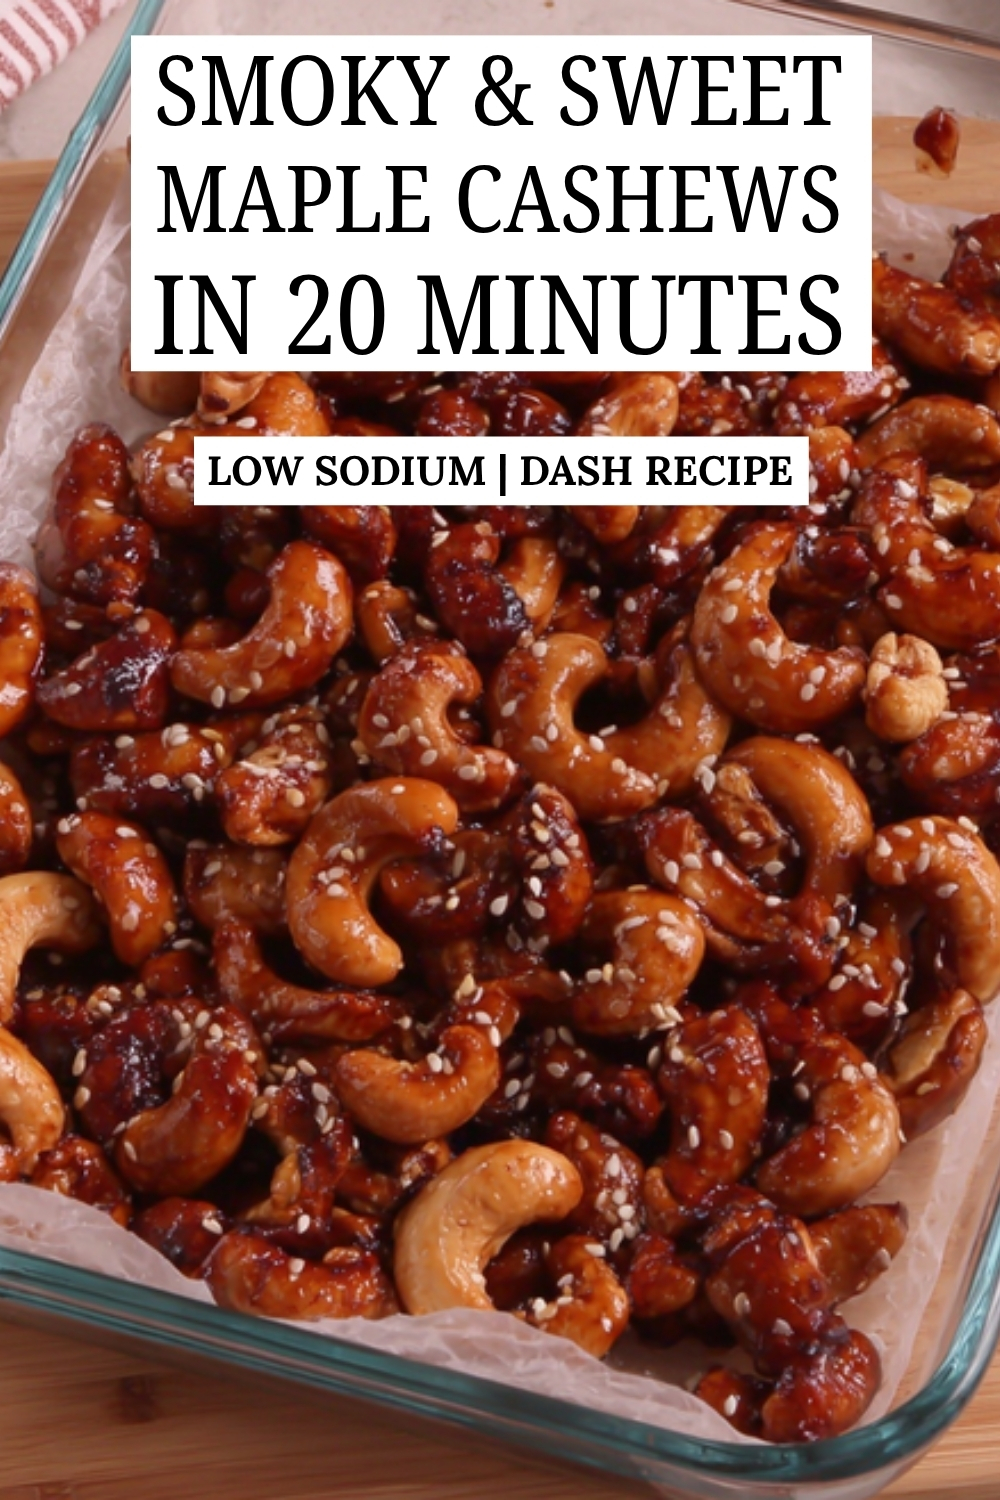
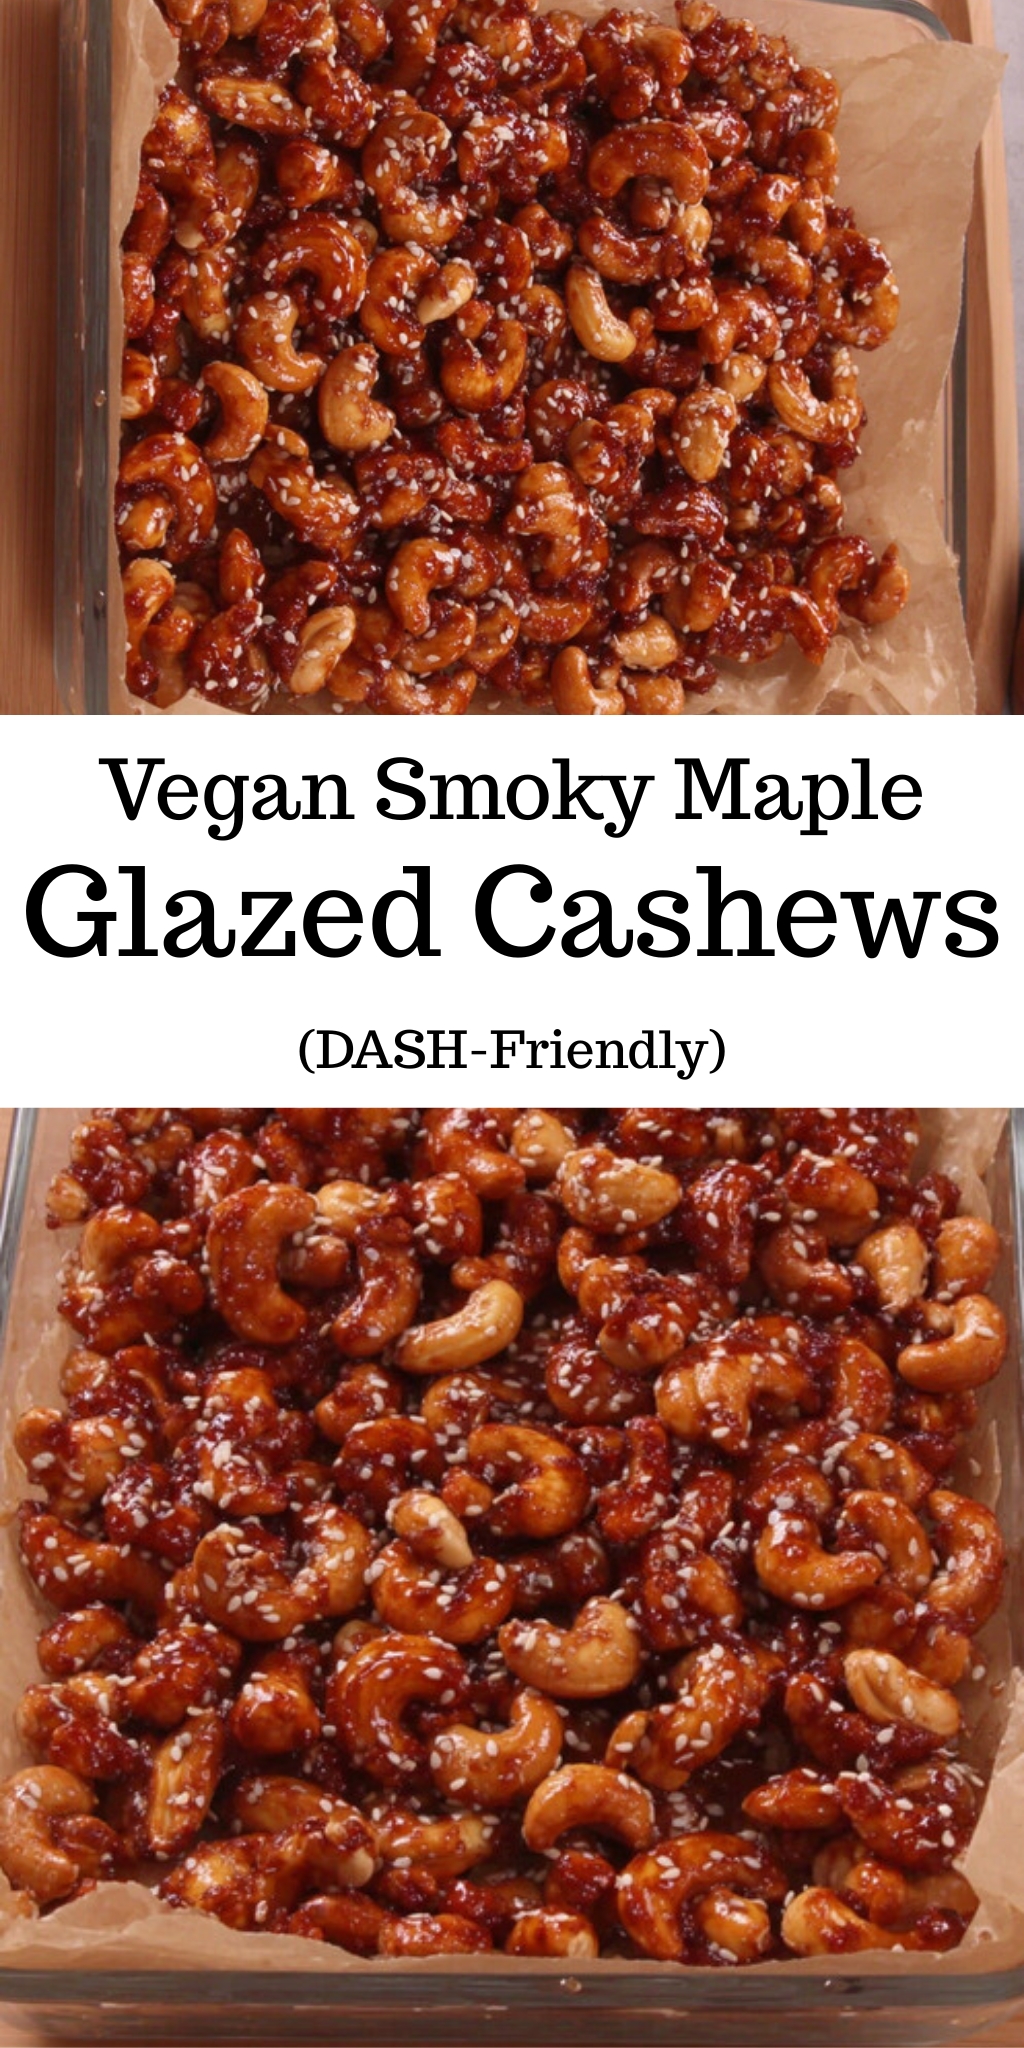
These fast maple glazed cashews hit the pan raw and emerge with a sticky, crackly exterior that gives way to a buttery crunch. They take just 20 minutes to pull together, striking that ideal balance between sweet warmth and a sharp savory bite.
 This post may contain affiliate links.
The Secret to the Savory Crunch
- Layered roasting: Toasting the nuts dry for seven minutes before adding the coating builds a deeper, richer base flavor.
- The spice blend: Combining the syrup with spices creates smoked paprika cashews that aren’t cloyingly sweet.
- Sensible crunch: We use a single tablespoon of syrup and a splash of avocado oil to get that satisfying shell.
By the Numbers
I always look at the data to see how a snack fits into my afternoon. Here is what a quarter-cup serving looks like:
- Calories: 157
- Protein: 4.5 g
- Net Carbs: 8.6 g
- Sodium: 5 mg
Coating and Roasting the Maple Glazed Cashews
Start by spreading the raw nuts across a parchment-lined baking dish. You want a single, uncrowded layer so they toast evenly. I usually set a timer for this part because it is so easy to get distracted. Slide them into the oven to bake dry for 7 minutes to wake up those natural oils.
While those heat up, whisk your avocado oil, syrup, paprika, and cayenne in a medium bowl. Carefully dump the hot nuts straight into this mixture. Toss everything together vigorously until the nuts are glossy and completely coated.
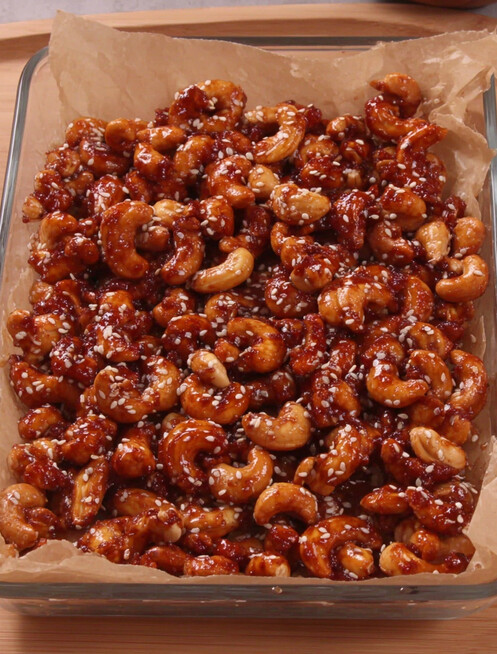
Spread the sticky nuts back onto the parchment, separating any large clumps. Roast for another 8 to 10 minutes until the glaze bubbles and deepens to a dark golden-brown hue.
Transfer the entire parchment sheet to a wire rack to cool. This step is non-negotiable. They will feel soft right out of the oven, but they crisp up dramatically as the sugar hardens over the next 15 minutes.
Keeping the Crunch Alive
- Storage rules: Keep these in an airtight glass jar at room temperature. They stay crisp for about five days.
- Switch the nuts: If you lack cashews, raw pecans or whole almonds work beautifully with this exact method.
- Avoid the sticky trap: If your batch feels tacky after a full cool-down, they just needed a minute or two longer in the oven.
- Snack pairings: Serve these alongside a creamy Greek yogurt dip for a savory contrast that requires minimal effort.
Smoky Maple Glazed Cashews
Enjoy these irresistibly crunchy cashews, glazed with smoky paprika and sweet maple. This recipe is designed to be a delicious snack inspired by DASH principles.
- Total Time20 minutes
- Yield6 (approx. 1/4 cup each) 1x
Ingredients
- 1 cup raw unsalted cashews (about 5 oz / 140 g)
- 2 tsp white sesame seeds
- 2 tsp avocado oil (or canola oil)
- 1 tbsp pure maple syrup
- ½ tsp smoked paprika
- ⅛ tsp cayenne pepper
Instructions
- Oven & Dish Prep: Position a rack in the center of your oven and preheat to 350°F (175°C). Line a 9×13-inch (23×33 cm) glass baking dish with parchment paper, ensuring it covers the bottom and sides for easy cleanup.
- Initial Nut Toast: Spread the raw cashews in a single layer in the prepared baking dish. Place in the preheated oven to toast for 7 minutes, which helps develop their foundational nutty flavor before glazing.
- Prepare the Smoky Glaze: While the cashews are toasting, combine the avocado oil, maple syrup, smoked paprika, and cayenne pepper in a small mixing bowl. Whisk until the mixture is smooth and uniform.
- Coat & Combine: Carefully remove the hot baking dish from the oven. Pour the toasted cashews directly into the bowl with the glaze. Add the sesame seeds and use a silicone spatula to toss everything together until the nuts are thoroughly and evenly coated.
- Final Roasting: Transfer the glazed cashews back into the parchment-lined baking dish, spreading them into an even layer. Return to the oven and bake for an additional 8 to 10 minutes. The nuts are done when the glaze is bubbly and they are a deep golden-brown hue.
- Cool for Crunch: Remove the dish from the oven. Lift the parchment paper with the nuts out of the dish and place it on a wire cooling rack. Allow the cashews to cool completely for at least 15 minutes; they will become crisp as they cool. Once cool, break apart any clusters.
Notes
- Storage: Keep the cooled cashews in an airtight container at room temperature. They are best enjoyed within 5 days for optimal crunch.
- Ingredient Swaps: This recipe works beautifully with pecans or whole almonds as well.
- Troubleshooting: If the cashews seem sticky after cooling, they may need more time to dry. Ensure they are fully cooled before storing. Spreading them in a single, uncrowded layer is key to achieving a perfect, crunchy texture.
Nutrition Facts per Serving: Calories 157 kcal | Total Fat 12.3 g (Saturated Fat: 2.2 g) | Total Carbs 9.6 g (Dietary Fiber: 1 g, Total Sugars: 3.4 g, Includes Added Sugars: 2 g, Net Carbs: 8.6 g) | Protein 4.5 g | Sodium 5 mg | Potassium 170 mg | Magnesium 73 mg
These values are approximate and may vary based on ingredients and preparation.
- Prep Time: 5 minutes
- Cook Time: 15 minutes
- Category: Snack
- Cuisine: Global-Inspired
Nutrition
- Calories: 157
Final Thoughts
I love having a jar of these smoky maple cashews on the counter for busy afternoons. Try pairing them with a blueberry tahini smoothie for a truly balanced break. Pay attention to how your body responds to a nourishing snack with lower sodium and just a little bit of heat!
Quick reminder: I share what works in my kitchen, not medical advice. Talk to a pro if you’re making health-related decisions.


