
5-Minute Keto Vanilla Chia Pudding (One-Bowl Prep)

Rushing out the door usually means grabbing something lackluster, but having this keto vanilla chia pudding prepped changes everything. It offers a rich, creamy, spoon-coating texture that feels completely indulgent while keeping you comfortably full until your next meal.
 This post may contain affiliate links.
What Makes This Creamy Base Unbeatable
- Zero-Fuss Cleanup: Mixing everything in a single glass bowl means fewer dishes and a streamlined prep process for busy weekends.
- Incredible Texture Control: A quick double-whisking method guarantees a consistently smooth bite without any annoying, dry clumps.
- Customizable Canvas: The subtle, sweet flavor profile pairs effortlessly with everything from fresh berries to toasted nuts.
A Satisfying Low-Carb Staple
As someone who loves tracking nutritional details to find what actually sustains us, I appreciate how this keto recipe fits into a hectic week. It is packed with fiber and rich in healthy fats, offering a solid, practical nutritional snapshot.
At just 12g total carbs and 9g of fiber, it is a thoroughly satisfying choice. I often ask my readers, “How did your body respond to this?” and the feedback consistently points to how nourishing and convenient this simple bowl feels.
If you want a savory pairing for your morning routine, this pudding goes beautifully alongside some warm low-carb egg muffins. For a weekend brunch spread, serve it as a light starter before diving into a hearty green chile and cheese casserole.
Whisking Up the Perfect Gel
The secret to avoiding a watery texture is all in the timing. Whisk vigorously for a full 60 seconds right after adding your almond milk and vanilla bean paste.
Let the bowl sit at room temperature for seven minutes so the seeds begin to hydrate. Finally, break up any clumps with one last thorough stir before you cover tightly and chill.
Smart Tweaks and Storage Notes
- Mind the gelling power: Don’t worry if your mixture looks thin initially. Chia seed brands vary; if it hasn’t thickened after three hours, just stir in an extra tablespoon of seeds and chill again.
- Dairy-free swaps: Unsweetened oat milk or soy milk work beautifully if you need a nut-free option.
- Smart portioning: Divide the batch into six small jars right after the final whisk. This makes grabbing a wellness-friendly snack completely effortless.
Common Chia Questions
How long does this last in the fridge?
You can store leftovers in an airtight container for up to five days. The consistency will naturally continue to thicken slightly as it sits.
Can I use a liquid sweetener?
Absolutely. Any low-carb liquid or granular option works perfectly; just adjust the quantity to suit your personal taste preferences.
Print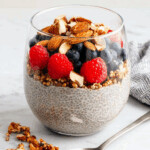
One-Bowl Vanilla Dream Chia Pudding
Whip up this rich, vanilla-infused chia pudding in a single bowl for a perfect grab-and-go breakfast or satisfying snack. A simple, lightly sweetened treat that’s ideal for meal prep.
- Total Time3 hours 7 minutes
- Yield6 1x
Ingredients
- ¾ cup chia seeds
- 2 Tablespoons granular monk fruit sweetener
- ¼ teaspoon ground cinnamon
- 1 pinch fine sea salt
- 3 ⅓ cups unsweetened almond milk (about 800 ml)
- 1 teaspoon vanilla bean paste
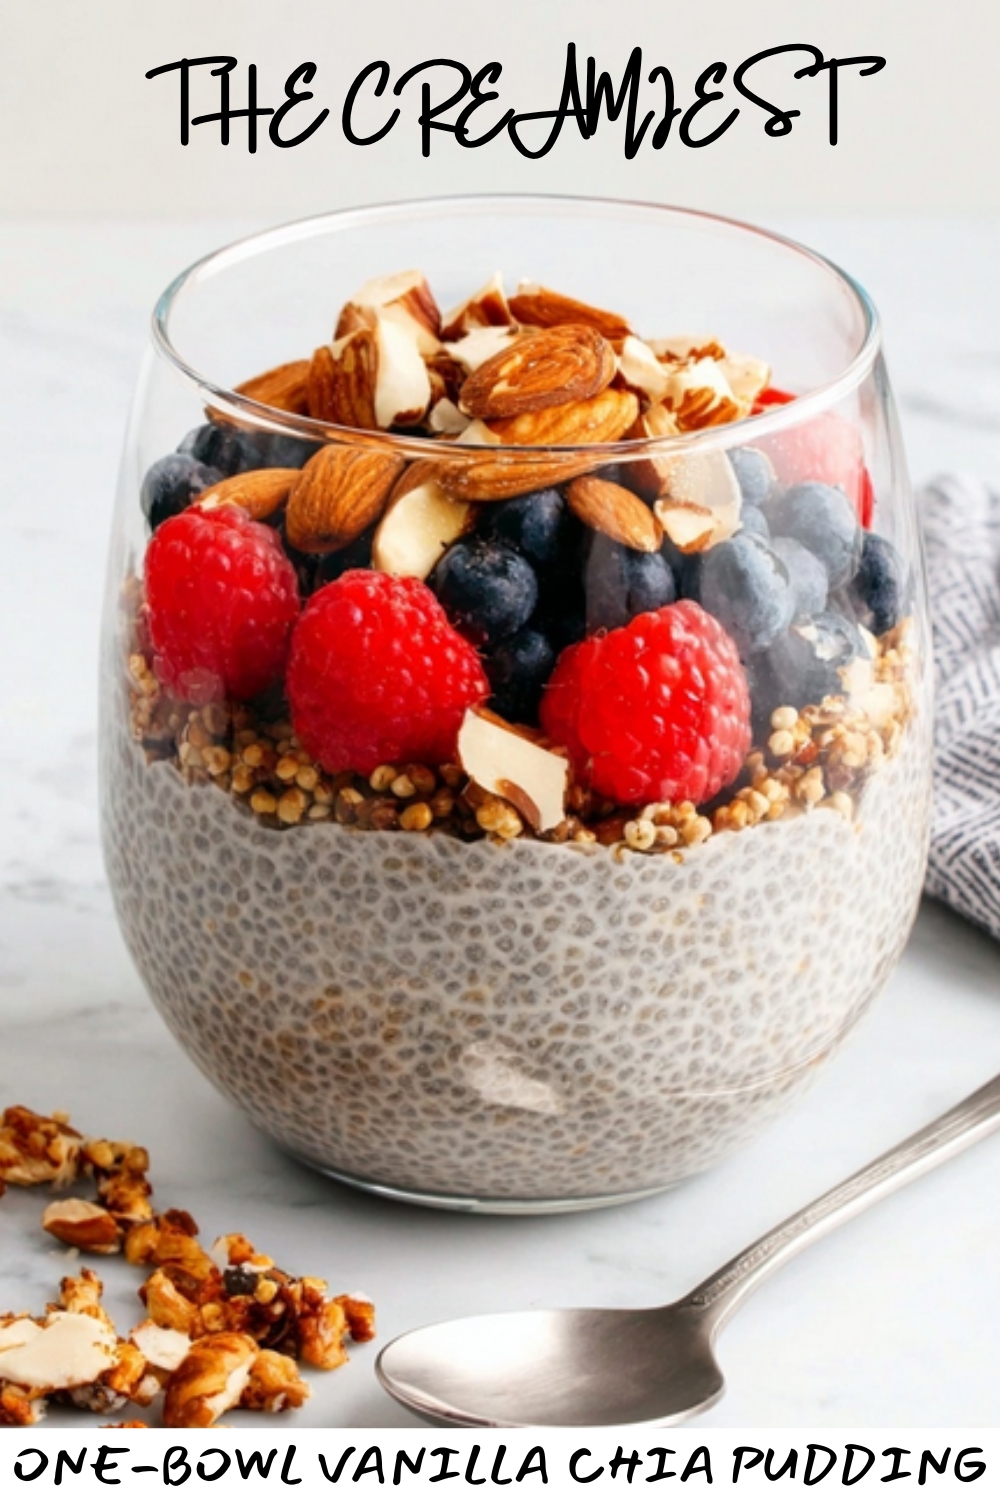
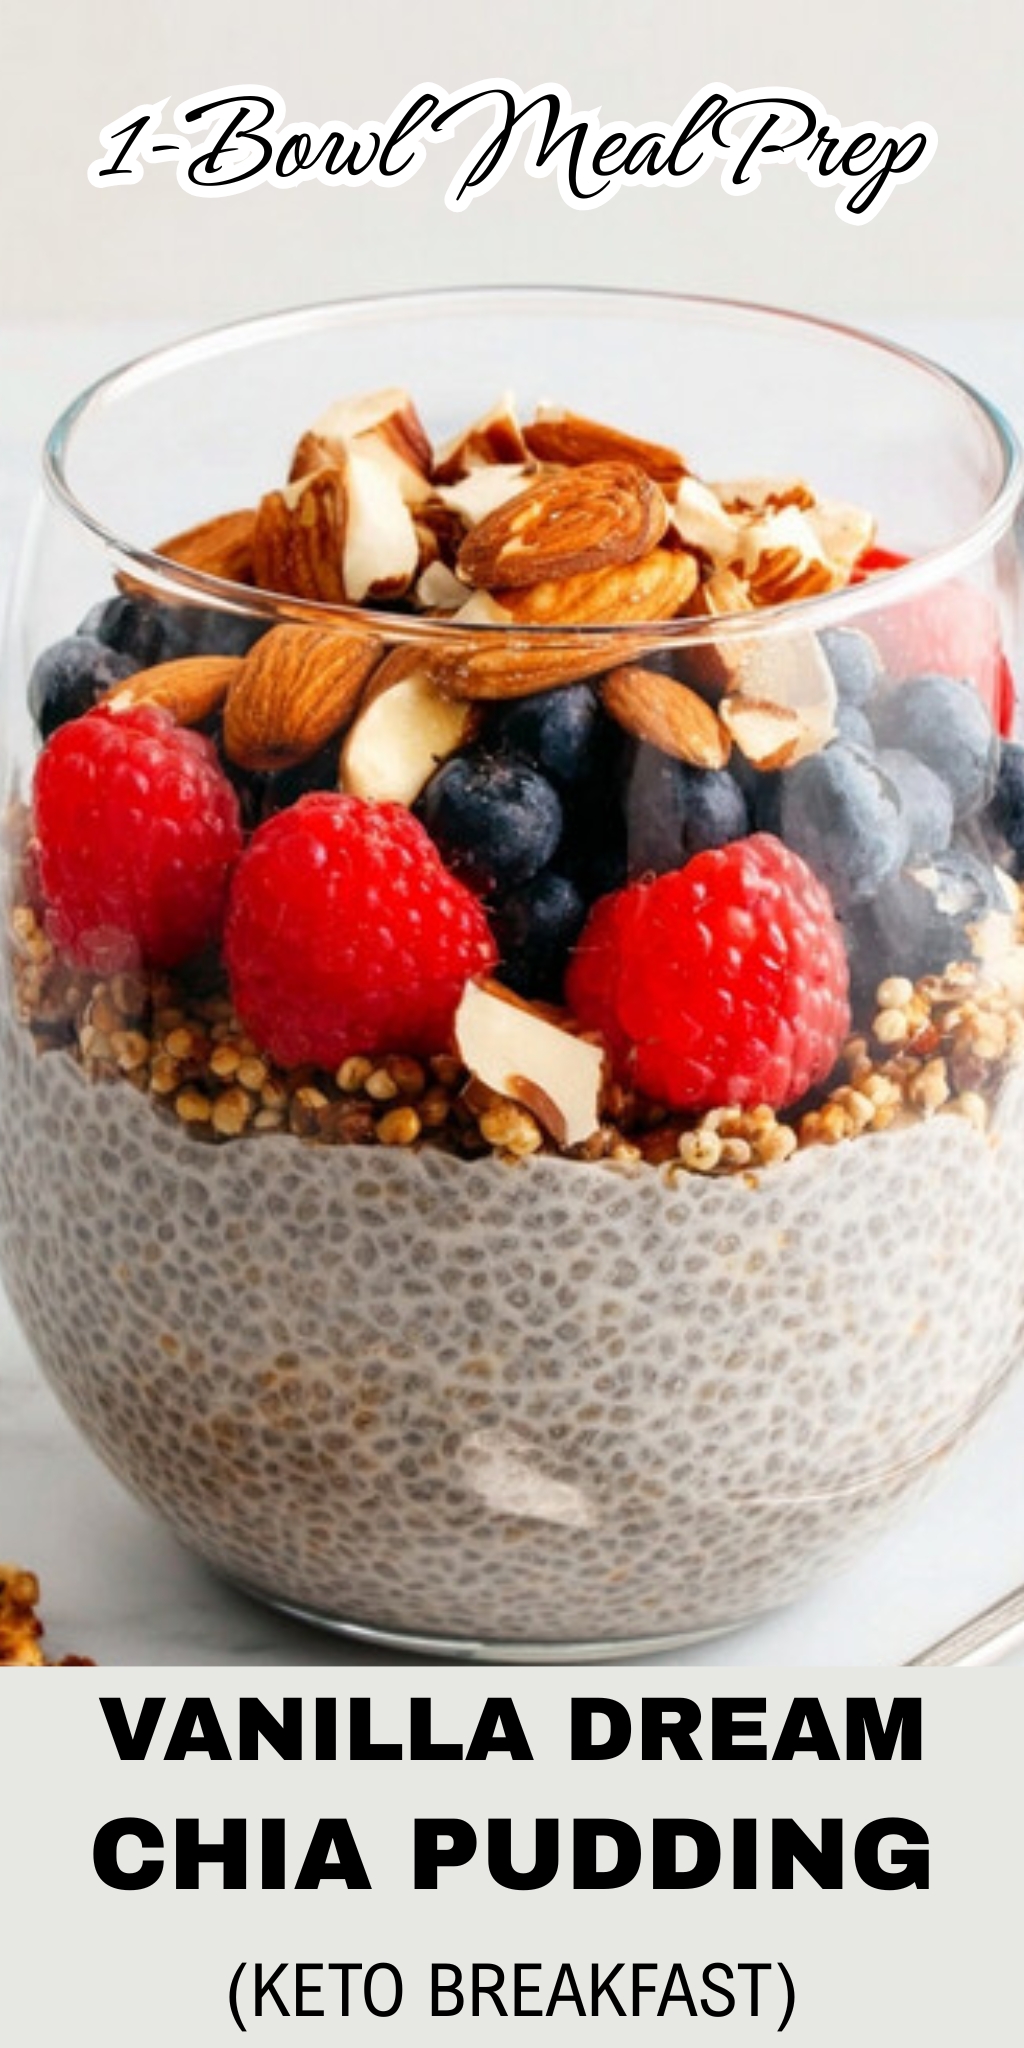
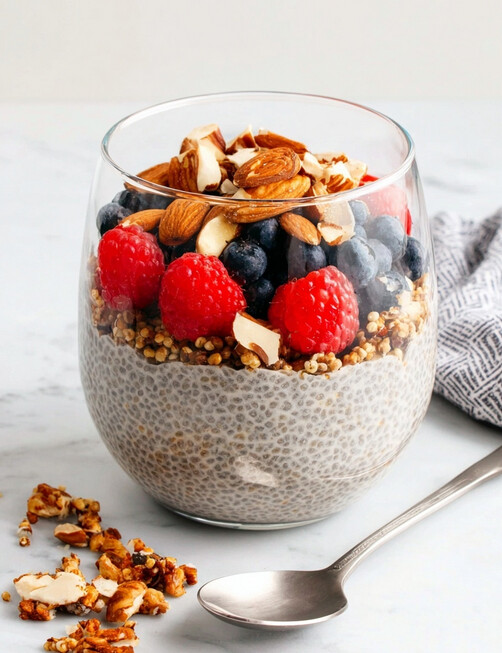
- For Serving (Optional: Fresh raspberries, toasted slivered almonds, hemp hearts)
Instructions
- Prepare the Base : In the large glass mixing bowl, add the chia seeds, granular monk fruit sweetener, ground cinnamon, and sea salt. Whisk these dry ingredients together for about 15 seconds to ensure they are evenly distributed.
- Hydrate the Seeds : Pour the unsweetened almond milk and vanilla bean paste directly into the bowl with the dry mixture.
- Initial Emulsion : Immediately begin whisking vigorously for a full 60 seconds. Scrape down the sides and bottom of the bowl with the spatula to ensure no seeds are stuck. The mixture will be thin at this stage.
- First Stand : Allow the mixture to rest at room temperature for 7 minutes. This brief period allows the chia seeds to begin absorbing the liquid and forming their signature gel-like coating.
- Final Integration : After the rest, give the pudding one final, thorough whisking. Focus on breaking up any small clumps of seeds that may have formed, ensuring the final texture will be smooth and uniform.
- Chill and Thicken : Cover the bowl tightly with a lid or plastic wrap. Transfer the bowl to the refrigerator to chill for a minimum of 3 hours, or up to overnight. The pudding is ready when it is thick, creamy, and no longer watery.
- Serve or Store : Once fully thickened, give the pudding a final stir. Portion it into individual jars or bowls. Garnish with fresh raspberries, toasted almonds, and hemp hearts just before serving.
Notes
- Storage: Leftover chia pudding can be stored in airtight containers in the refrigerator for up to 5 days. The consistency will continue to thicken slightly over time.
- Ingredient Swaps: For a nut-free pudding, unsweetened oat milk or soy milk are excellent alternatives. Any granular or liquid low-carb sweetener can be substituted; simply adjust the quantity to your preferred taste.
- Troubleshooting: If the pudding seems too thin after the initial chilling time, whisk in 1 additional tablespoon of chia seeds and refrigerate for another 45–60 minutes. The gelling power of chia seeds can vary between brands.
Nutrition Facts (approx. per serving): Calories: 135 kcal | Total Fat: 12 g (Saturated Fat: 1 g) | Total Carbs: 12 g (Fiber: 9 g, Sugars: 1 g) | Protein: 5 g | Sodium: 151 mg | Cholesterol: 0 mg | Potassium: 198 mg
These values are approximate and may vary based on ingredients and preparation.
- Prep Time: 7 minutes
- Category: Breakfast, Snack
- Cuisine: Wellness-Inspired
Nutrition
- Calories: 135
Disclaimer: I’m just a data-loving home cook sharing the practical recipes that work for my routine, not a nutritionist. Always listen to your own body (and your doctor) when trying new dietary changes!

")
