
The Ultimate Healthy Turkey Chili Recipe (DASH-Friendly & Ridiculously Thick)

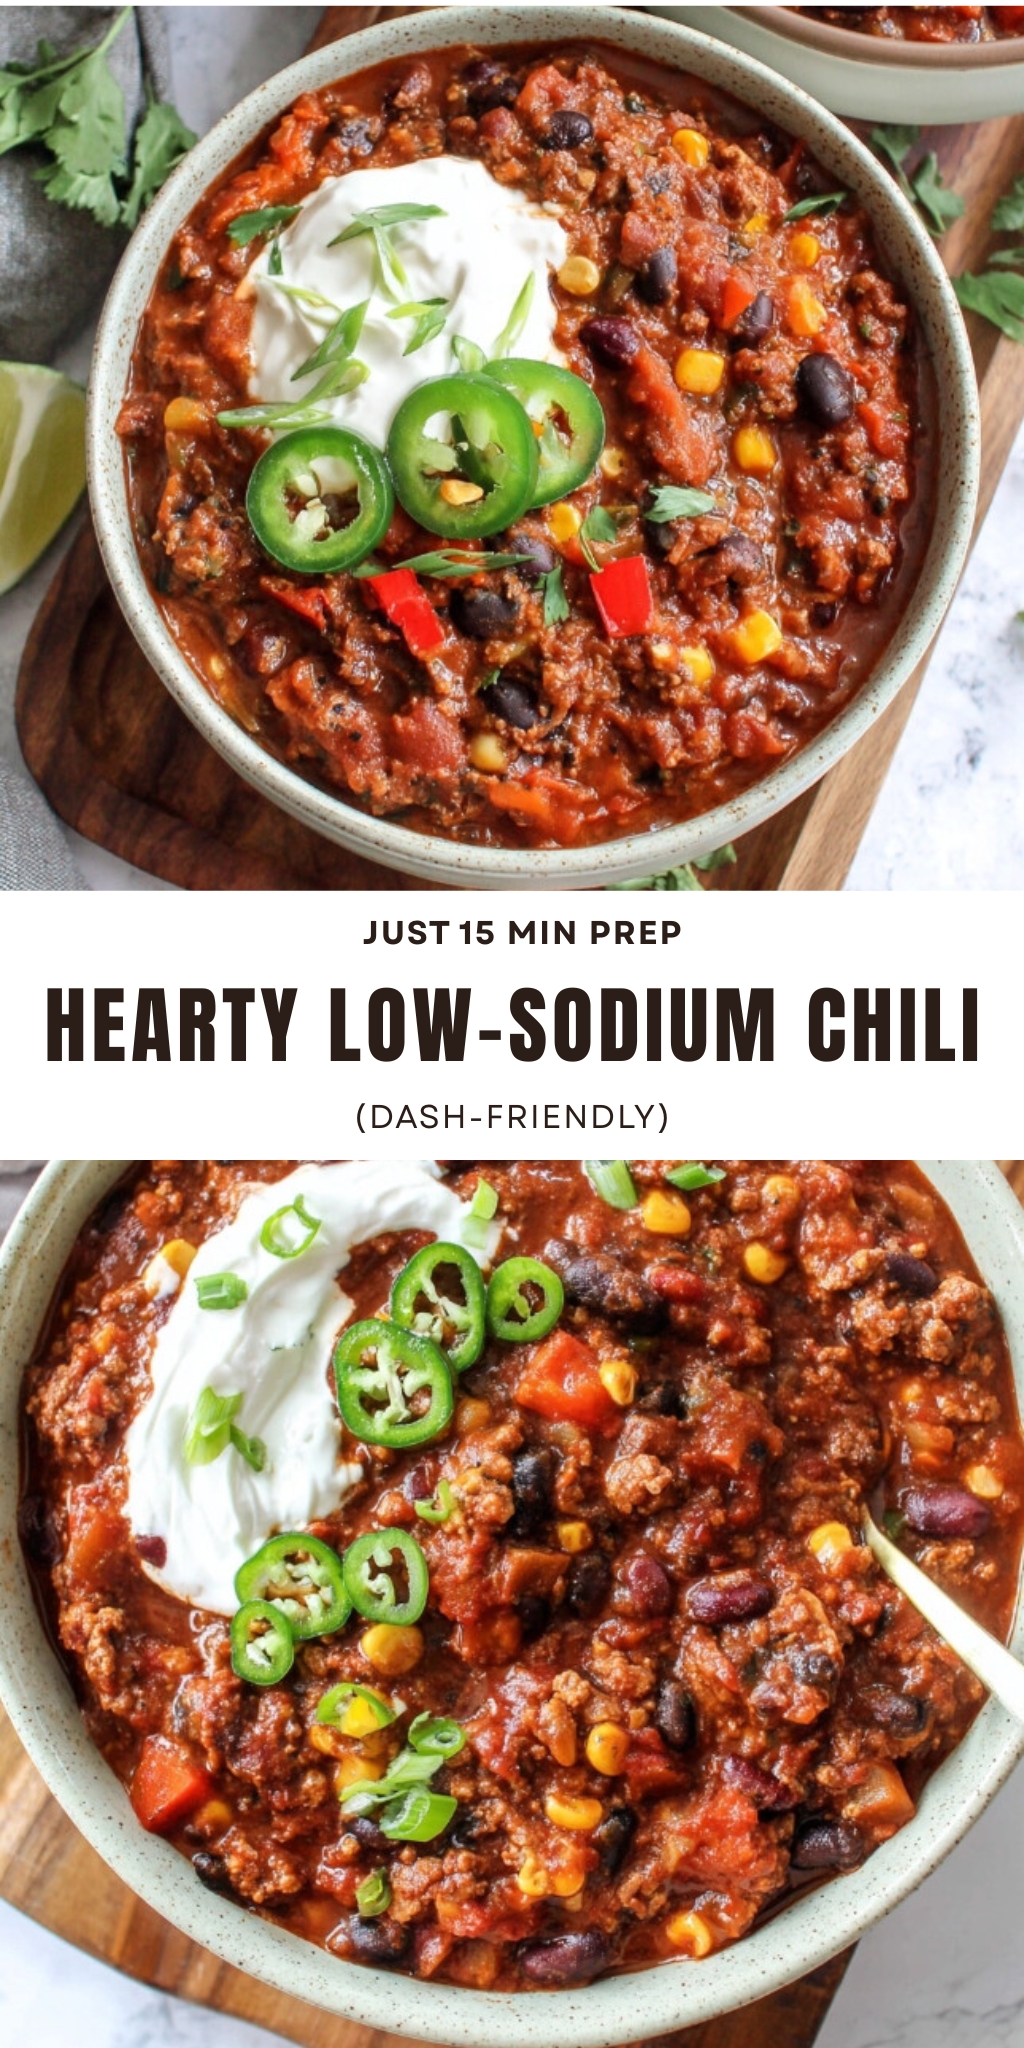
Tired of watery, bland dinners? This healthy turkey chili recipe is your simple solution. It delivers a deeply savory, shatteringly thick texture that clings to your spoon. Packed with vibrant veggies and warm spices, it’s the ultimate cozy comfort in a bowl.
 This post may contain affiliate links.
Why This Recipe Works
- Savory Depth: A hint of unsweetened cocoa powder adds incredible richness that mimics slow-cooked mole, perfectly balancing the bright tomatoes.
- Texture Perfection: Allowing the pot to simmer for over two hours creates a beautifully thick, scoopable consistency that feels incredibly hearty.
- Pantry-Friendly: It utilizes everyday canned beans and frozen corn for maximum convenience without sacrificing a drop of taste.
The Lifestyle Fit
As someone who loves tracking the numbers so you don’t have to, this low sodium turkey chili hits all the right marks. It’s wonderfully DASH-friendly, relying on no-salt-added staples and a splash of balsamic vinegar to build massive flavor without the heavy salt shaker.
It’s a deeply satisfying, protein-packed option that makes me feel great after a long, busy day. If you want a fresh pairing for lunch, try serving a small cup alongside a crisp grilled chicken salad.
The How-To
First, sauté your aromatics in a large pot. Add the 1.5 lbs lean ground turkey and cook until perfectly browned and crumbled.
Next, it’s time to bloom those spices! Stir in the chili powder, cumin, smoked paprika, and cocoa for 1-2 minutes until fragrant. This simple step unlocks so much flavor.
Finally, stir in your liquids, beans, and chopped veggies. Bring the pot to a gentle boil, cover, and let it simmer on low for at least 2 hours.
Expert Tips & Storage
- Sodium Smart: Always double-check your labels for no-salt-added beans and tomatoes to keep the sodium levels exactly where we want them.
- Make it Ahead: This chili genuinely tastes better the next day! Store it in an airtight container in the fridge for up to 4 days.
- Topping Ideas: A dollop of plain Greek yogurt or a swirl of creamy greek yogurt dip adds a fantastic tangy contrast to the warm spices.
- Portion Check: I find a standard 1-cup portion provides a satisfying bowl. How did your body respond to this meal? Jotting down those notes can be incredibly helpful for future meal planning!

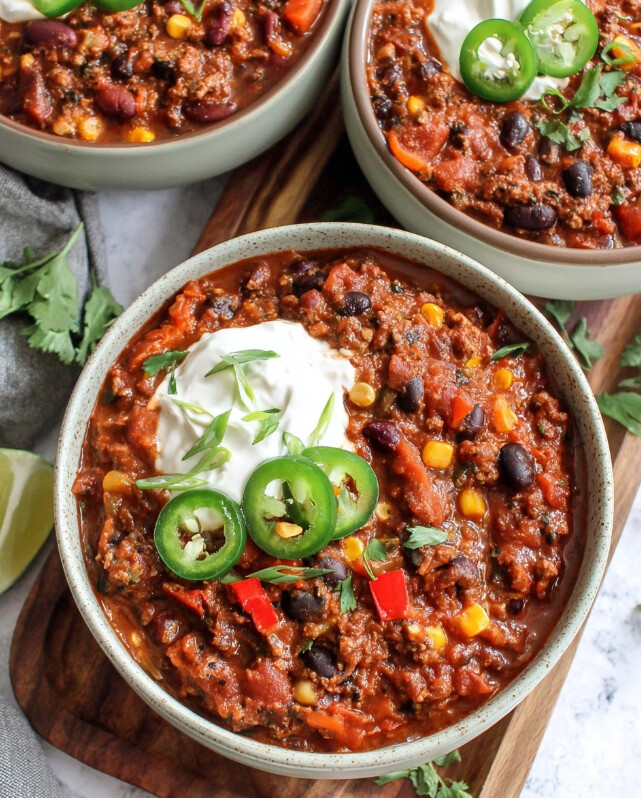
Vibrant Hearty Low-Sodium Turkey Chili
Dive into this crowd-pleasing turkey chili that’s loaded with tender lean turkey, colorful veggies, sweet corn, and a symphony of spices for that perfect cozy comfort. It’s all about big, bold flavors without the extra salt—think satisfying warmth in every bowl, ideal for weeknight dinners or game-day gatherings. And for those following a DASH-friendly eating plan, this one’s a natural fit with its focus on wholesome ingredients and balanced sodium.
- Total Time3 hours
- Yield12 servings 1x
Ingredients
For the Base:
- 1.5 tablespoons extra virgin olive oil
- 1.5 lbs 24 ounces lean ground turkey (93/7 or leaner)
- 1 very large sweet onion (or 2 medium, finely chopped (approx. 2 – 2.25 cups))
- 6 cloves garlic (minced)
Vegetables:
- 3 large bell peppers (a mix of colors, e.g., red, yellow, orange, diced)
- 1.5 cups frozen corn (no salt added)
- Canned Goods (No Salt Added Preferred:)
- 1 28-ounce can no-salt-added diced tomatoes, with juice
- 1 14.5-ounce can no-salt-added diced tomatoes, with juice
- 9 ounces no-salt-added tomato paste (e.g., two 4.5-oz tubes or one and a half 6-oz cans)
- Three 15-ounce cans mixed beans (e.g., kidney, black, pinto, no-salt-added, rinsed and drained well)
Liquid:
- 3 cups chicken broth
Spices & Seasonings:
- 3 tablespoons chili powder
- 1.5 tablespoons ground cumin
- 1.5 tablespoons smoked paprika
- 1.5 tablespoons unsweetened cocoa powder
- 1.5 teaspoons dried oregano
- Small pinch of cayenne pepper (optional, for minimal warmth, approx. 1/16 tsp)
- ½ teaspoon salt
Flavor Enhancers:
- 2.25 tablespoons 2 tablespoons + ¾ teaspoon balsamic vinegar
- 2 tablespoons packed light brown sugar
- 1.5 teaspoons low-sodium Worcestershire sauce
Optional Toppings for Serving:
- Chopped fresh cilantro
- Plain Greek yogurt or light sour cream
- Sliced green onions
- Thinly sliced jalapeños
Instructions
- Sauté Aromatics and Brown Turkey: Place the Dutch oven or large pot over medium heat. Add the olive oil. Once shimmering, add the chopped onion and cook for 5-7 minutes, stirring occasionally, until softened and translucent. Add the minced garlic and cook for another1 minute until fragrant. Add the ground turkey to the pot. Break it apart with a spoon and cook, stirring occasionally, until browned and cooked through (about 7-10 minutes). Drain off any excess fat if necessary.
- Bloom Spices and Add Flavor Base: To the pot with the turkey and onions, add the chili powder, ground cumin, smoked paprika, unsweetened cocoa powder, dried oregano, the ½ teaspoon of salt, and cayenne pepper (if using). Stir constantly for 1-2 minutes until the spices are fragrant and well combined with the turkey mixture. This step toasts the spices and deepens their flavor.
- Incorporate Remaining Ingredients: Add the diced tomatoes (both cans with their juices), tomato paste, chicken broth, rinsed and drained beans, diced bell peppers, frozen corn, balsamic vinegar, brown sugar, and low-sodium Worcestershire sauce. Stir everything together thoroughly, ensuring the tomato paste is well incorporated and there are no clumps.
- Simmer to Perfection: Bring the chili to a gentle boil over medium-high heat. Once boiling, reduce the heat to low, cover the pot, and let the chili simmer for at least 2 hours, or up to 2.5 hours for flavors to meld even more deeply. Stir occasionally (every 20-30 minutes) to prevent sticking and ensure even cooking. If the chili becomes too thick for your liking during simmering, you can add a little more chicken broth or water.
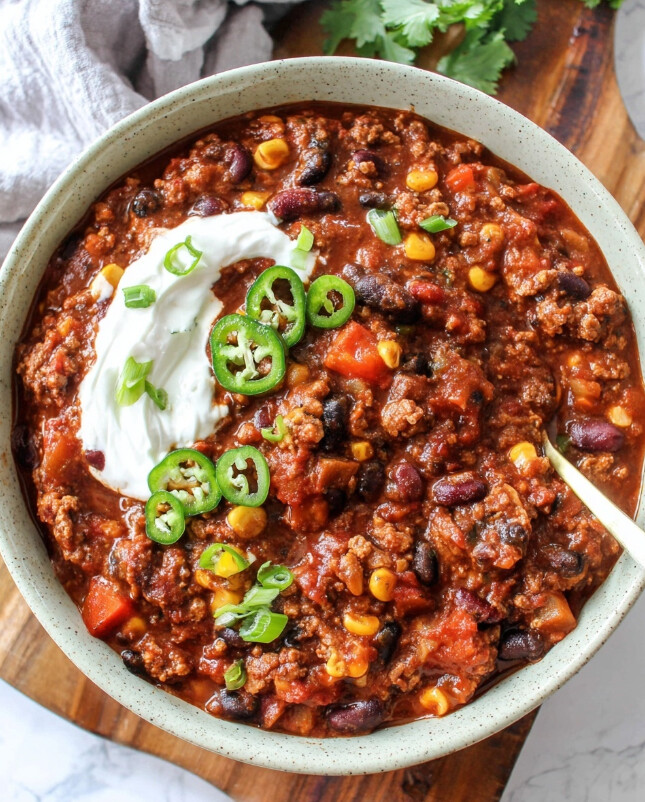
- Serve and Garnish: After simmering, taste the chili. Serve hot, portioned into bowls (approximately 1 cup per serving). If desired, offer toppings such as chopped cilantro, a dollop of plain Greek yogurt or light sour cream, sliced green onions, or jalapeños.
Notes
- Storage & Freezing: Leftover chili tastes even better the next day! Store it in an airtight container in the refrigerator for up to 4 days. For longer storage, freeze in individual portions for up to 3 months. Thaw overnight in the fridge before reheating.
- The “Secret” Ingredient: Don’t be afraid of the unsweetened cocoa powder! It does not make the chili taste like chocolate. Instead, it adds a rich, deep color and savory complexity (umami) that mimics the depth of slow-cooked mole sauces, balancing the acidity of the tomatoes perfectly.
- Sodium Smart: To maintain the low sodium profile (approx. 210 mg/serving), it is crucial to use Low-Sodium or Unsalted Chicken Broth and No-Salt-Added canned beans and tomatoes. If using regular canned goods or broth, the sodium content will be significantly higher.
- Adjusting the Heat: This recipe is designed to be family-friendly with a mild kick. For a spicier chili, keep the seeds in the jalapeños (if adding as a topping) or increase the cayenne pepper to ¼ teaspoon. For zero heat, simply omit the cayenne pepper.
- Bean Variations: Feel free to mix and match the beans based on what you have in your pantry. Great alternatives include chickpeas, Great Northern beans, or even lentils. Just ensure they are rinsed well to remove excess starch and sodium.
- Serving Suggestion: Pair this hearty chili with a slice of warm, whole-grain cornbread or serve over a bed of brown rice or quinoa to create a complete protein profile and a filling DASH-friendly dinner.
Nutrition Facts (per serving, 1 cup): Calories: 282 kcal | Total Fat: 8.0 g (Saturated Fat: 1.5 g) | Total Carbs: 36.3 g (Fiber: 10.0 g, Sugars: 11.9 g) | Protein: 20.5 g | Sodium: 210 mg
These values are approximate and may vary based on ingredients and preparation. Sugars include 2.5 g added sugar.
- Prep Time: 15 minutes
- Cook Time: 2 hours 45 minutes
Nutrition
- Calories: 266
Enjoy the cozy warmth of this chili! Disclaimer: I’m just a data-loving food writer sharing the numbers and recipes that work in my kitchen, not a medical professional. Always listen to your own body (and your doctor) when making dietary tweaks!
- Save for Later1.0K
")

")
Ground turkey wasn’t available at the butcher, so I went with 1.5 lbs of 95/5 ground chicken instead. To make up for the savory depth that the cocoa powder adds, I stirred in exactly 1 teaspoon of hickory liquid smoke with the chicken broth. Kept the sodium low for my diet but gave it a really bold campfire smell.
Liquid smoke is a very clever way to build depth without adding sodium. With the leaner meat and high fiber, did you feel comfortably satisfied without that heavy lethargy that sometimes follows traditional chili?